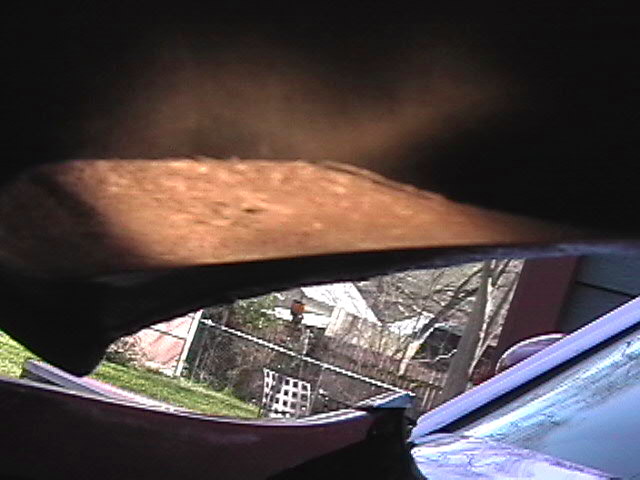
This is not a great picture, but it is the bottom of the rear passenger side
corner of the hood. This was filed down considerably to get that corner of the
hood to sit down as far as it would go. The rear cowl rubber seal had to be
removed completely and the rear snubber cut about in half. These modifications
allow the rear of the hood to sit on the cowl on each corner.
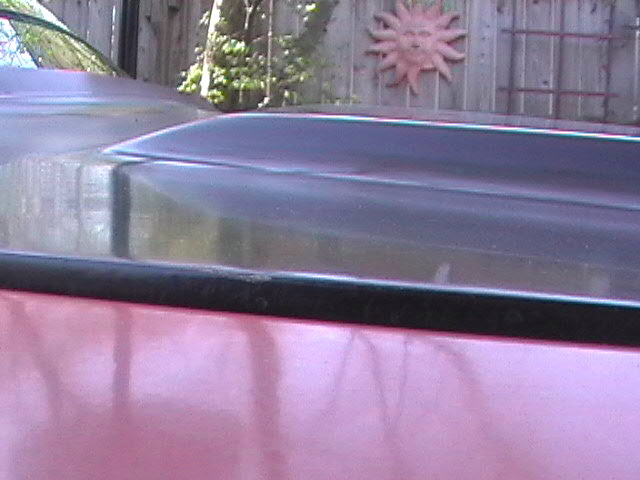
The rear passenger side of the hood still sits up about 1/4"
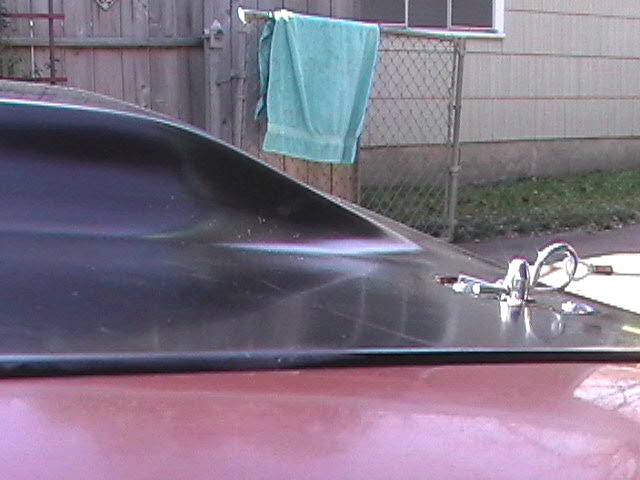
The middle to the front of the passenger side sits up about 1/8" too high.
The front is perfectly aligned.
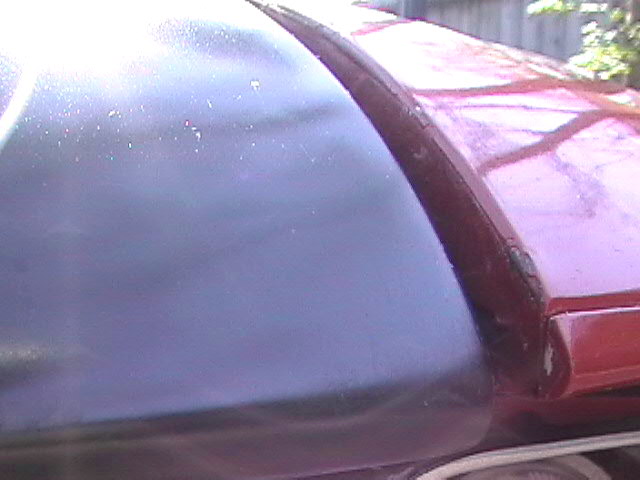
The front of the driver's side sits a bit low, but it may be a combination of
the hood and past body work on the fender.
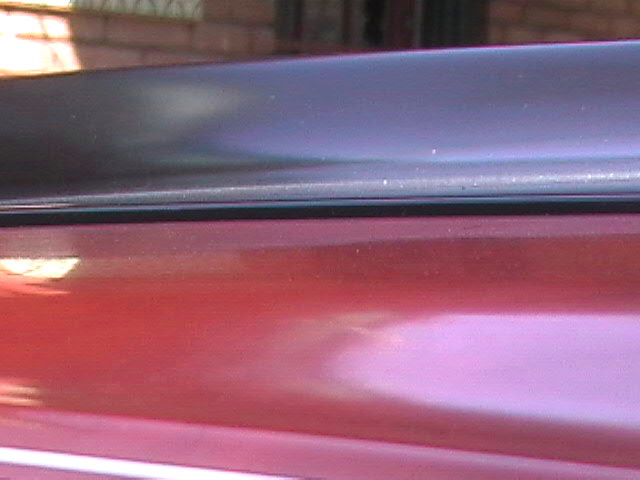
This is the worst part of the driver's side. It sits up about 1/8", but the rest is perfect.
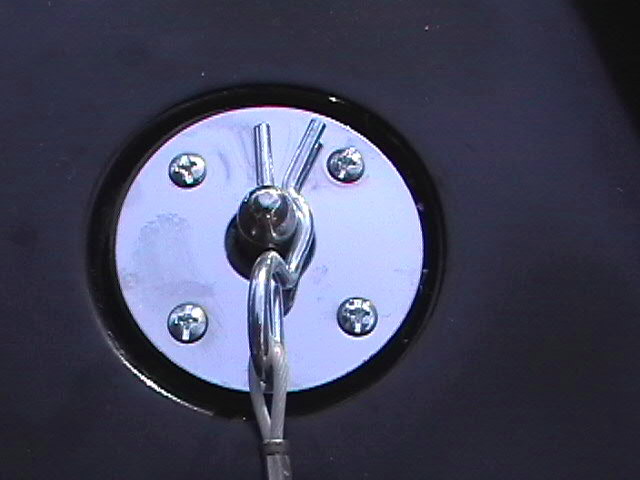
This is a hood pin kit from Original Parts Group (OPG). It is very high quality
and inexpensive. I changed out the chamfered (maybe not the right word?) screws
that came with it for the flat bottom curved top type. My buddy Patton thought
these would look better.
The hole has to be drilled for the pin to slide up through the hood. There is
only one spot you can drill this hole since it has to go in the center of the
scuff plate that sits perfectly in the pre-made hood indentions. I did not have
a big enough drill bit, so I used a 1/2" bit and opened the hole up with a
Dremel and a cutting bit.
The pins themselves are very long, but with the Olds pin bracket in place on the
radiator support, you don't need much length. It actually needed threading to
go further up the pin. We had to make some modifications to the brackets to
adjust for that. Additionally, Patton cut out an extra rubber gasket pad to go
between the hood and the scuff plate out of 1/4" hard rubber to take up an
extra bit of slack.
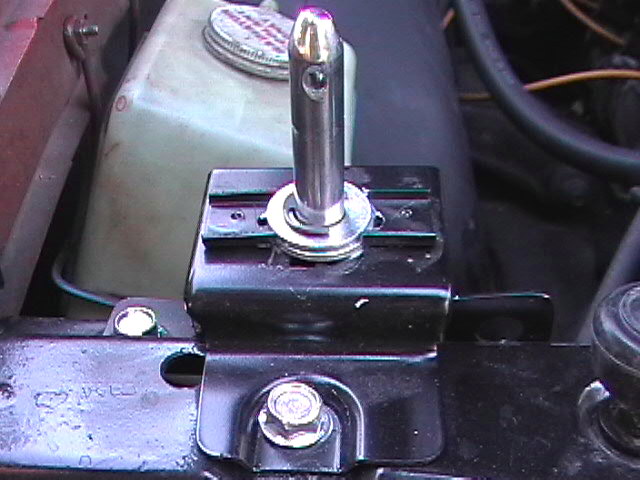
The bracket is a repro from OPG. Not cheap at $50, but the alignment was decent.
We had to open up the bolt holes to get the bracket closer to the radiator
support for proper pin alignment. To drop the pin down lower, we had to use a
Dremel with a cut off wheel to cut out the center of the latch area that has
provisions for accepting the standard type 442 hood locks. Also, to drop the pin
down lower, I used heavy duty 1/2" E clips instead of the thick bolt. The pin
has a spot above the threads perfect for accepting this type of clip. It turned
out that the passenger side pin dropped a hair too low so I used two washers
under the E clip to bring it back up a hair.
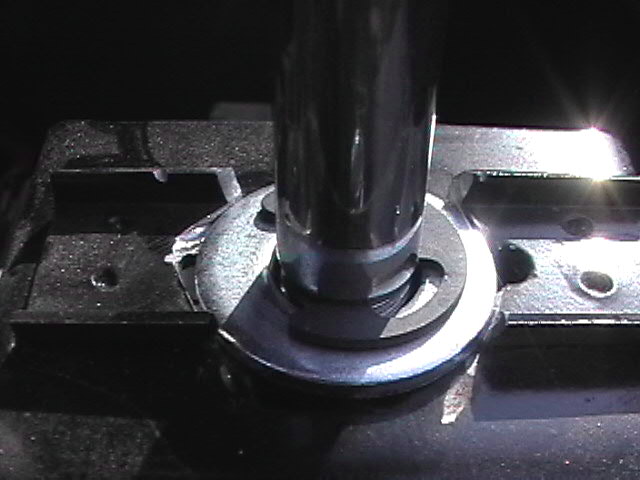
The driver's side used only one washer and one E clip. There is a bolt and
washer that threads up from the bottom to secure the pin to the bracket.
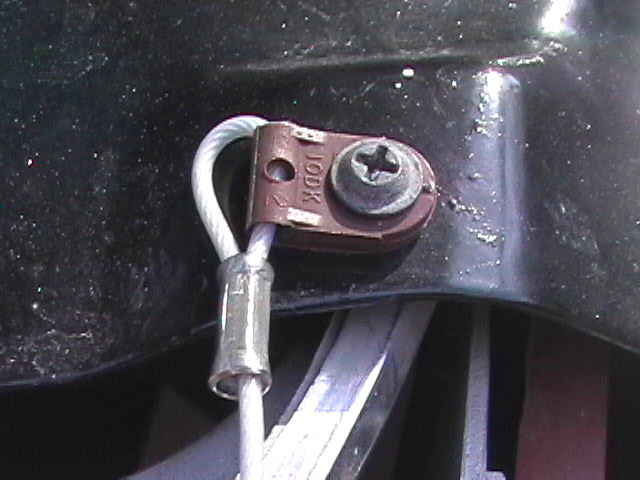
The lanyard was then attached to two humps in the radiator support that looked
like they were made for that purpose.
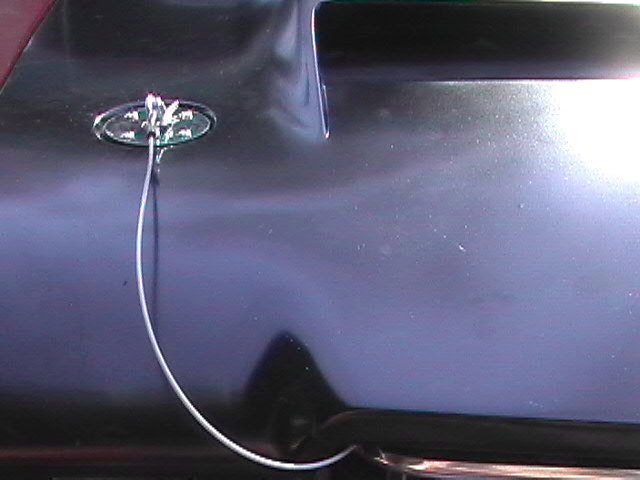
This is the final hood pin assembly.
Click here to see the finished product.
Thanks go out to Patton Glade (70Post) for his help in this and all my other projects.